Blogging this year offers more opportunities than ever to connect with a global audience, share your expertise, and even build a thriving business. The tools and technology available today have made starting a blog accessible to anyone willing to put in the effort. Whether you want to create a blog for personal expression or as a strategic move for your business, this guide will take you through every step.
Here’s everything you need to know about starting a blog this year, complete with practical tips and insights to set you up for success.
Why Start a Blog?

Blogging is far from dead—in fact, it’s evolving. Here are a few reasons why this year is a fantastic time to start your blog:
- Increased Demand for Niche Content: People crave in-depth, personalized information that resonates with them.
- New Monetization Opportunities: Platforms and tools make earning from blogs easier.
- Global Reach: With faster internet and improved digital infrastructure, your blog can reach anyone, anywhere.
Blogging can be both a creative outlet and a source of passive income. Let’s dive into how to begin.
Step 1: Decide on Your Blog’s Purpose and Niche

Why Are You Blogging?
Start by asking yourself: What do I want to achieve with my blog? Your goals could be:
- Sharing your passion for a topic
- Building a personal brand
- Driving traffic to your business
- Earning money through ads, affiliate marketing, or digital products
Understanding your “why” will guide every decision you make.
Choose a Niche
A niche helps you stand out and attract a targeted audience. Some trending niches this year include:
- AI and Tech: Topics like AI tools, automation, and future technologies.
- Health and Wellness: Holistic approaches, mental health, and fitness hacks.
- Remote Work: Tips for digital nomads and freelancers.
- Eco-Friendly Living: Sustainability and green products.
Pro Tip: Choose a niche you're passionate about and knowledgeable in. If you love what you write about, consistency will come naturally.
Step 2: Pick a Blogging Platform
The platform you choose determines your blog’s functionality and ease of use. Here are the best blogging platforms this year:
- WordPress.org
- Highly customizable with thousands of plugins and themes.
- Perfect for those looking for complete control.
- Wix
- Drag-and-drop editor, beginner-friendly, and visually appealing.
- Ghost
- Designed for writers, with a focus on speed and simplicity.
- Substack
- Ideal for newsletter-style blogs and audience monetization.
Pro Tip: If you’re new to blogging, start with a platform like Wix. If you’re tech-savvy, WordPress.org offers unmatched flexibility. I personally use (and that most other bloggers use) is a WordPress blog.
I can share a few words about WordPress from my point of view, such as:
WordPress.org is the ultimate blogging platform, offering unmatched flexibility and control. With thousands of themes and plugins, you can create a fully customized blog tailored to your needs. Its SEO-friendly framework ensures better visibility, while its open-source nature guarantees scalability, making it the perfect choice for any blogger.
Additionally, WordPress.org empowers creators with advanced features, from multimedia support to seamless integrations with SEO tools like Yoast. Its vast community ensures constant support and updates, keeping your blog secure and future-proof. For a platform that grows with you and delivers exceptional performance, WordPress.org is undoubtedly the best.
Step 3: Choose a Domain Name and Hosting Provider

Selecting a Domain Name
Your domain name is your blog’s identity, so choose wisely.
- Keep it short, memorable, and relevant.
- Avoid numbers and hyphens—they can confuse users.
- Opt for reputable extensions like
.com,.blog, or.net.
Use tools like Namecheap, Bluehost, or GoDaddy to find and register your domain.
Get Reliable Hosting
Hosting affects your blog’s speed, uptime, and security. This year, the best hosting providers include:
- SiteGround: Reliable and affordable.
- Bluehost: Perfect for beginners.
- Kinsta: High performance for serious bloggers.
Pro Tip: Choose a hosting provider that offers 24/7 customer support and one-click WordPress installation. I personally use (and that most other bloggers use) Bluehost. I can share a few words about Bluehost from my point of view, such as:
Bluehost stands out as the best web hosting provider due to its reliable performance, user-friendly interface, and exceptional customer support. With one-click WordPress installation, free domain registration, and affordable plans, it’s perfect for beginners and professionals. Its 99.9% uptime ensures your website is always accessible to visitors.
Additionally, Bluehost’s advanced features, like free SSL certificates and scalable hosting options, provide enhanced security and flexibility. Its robust infrastructure supports fast-loading websites, boosting user experience and SEO. For anyone seeking dependable hosting with excellent value, Bluehost remains the ultimate choice for building and growing online success.
Anyway, now I am going to tell you “How To Buy Domain & Hosting From Bluehost” for the best results.” Let's get started:
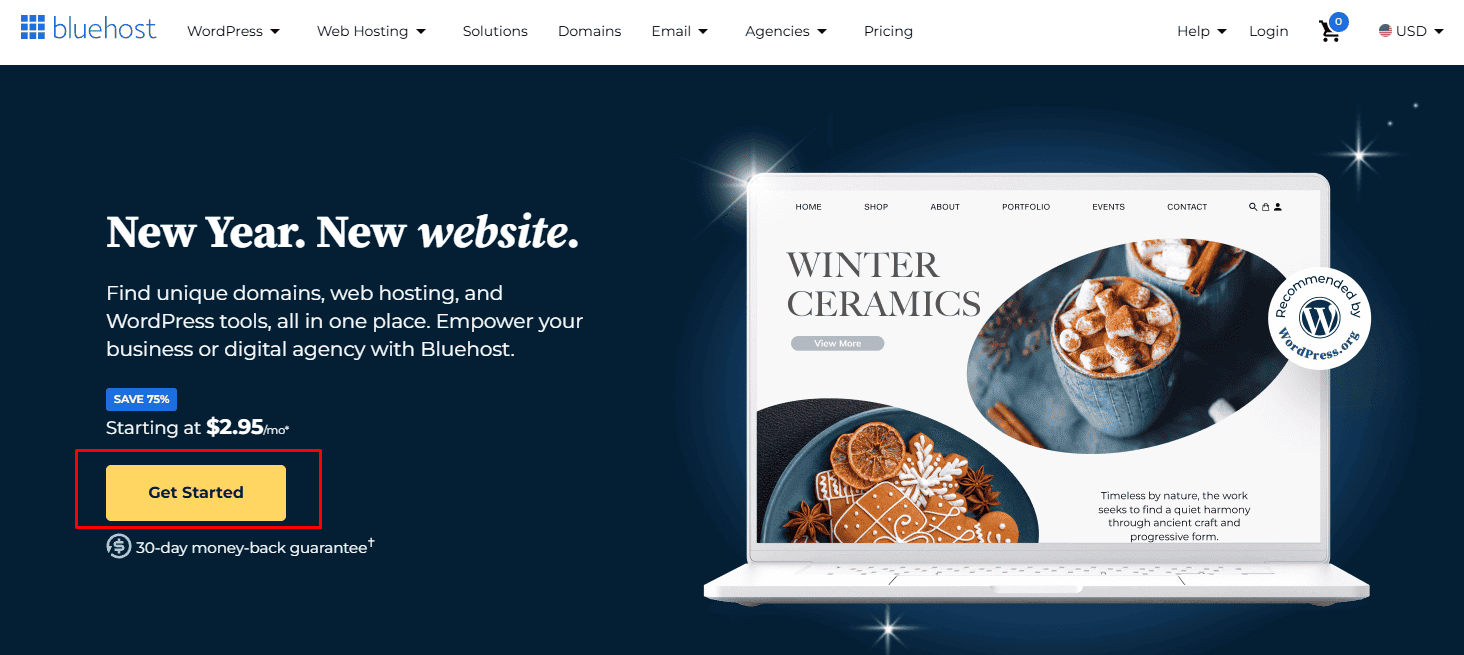
Step 1: Visit Bluehost’s Website
- Open your web browser and go to Bluehost’s official website.
- Click on the “Get Started” button on the homepage.
Step 2: Choose a Hosting Plan
Bluehost offers several hosting plans to suit different needs. For beginners, the Basic Plan is an excellent choice. Here's a quick overview of their plans:
- Basic: Best for one website.
- Plus: Great for multiple websites.
- Choice Plus: Includes added privacy and security.
- Pro: Optimized for performance.
Select the plan that fits your needs.

Step 3: Register a Domain
Bluehost provides a free domain for the first year with its hosting plans.
- On the domain registration page:
- Enter the domain name you want in the search bar.
- If your desired domain is available, you’ll see a success message.
- Alternatively, you can choose to skip this step and add a domain later.
- If your domain is already taken, Bluehost will suggest alternatives. You can choose one or modify your search.
Step 4: Enter Your Account Details
After selecting your domain, you’ll need to fill out your account details:
- Enter your name, address, email, and phone number.
- Use a secure email address, as this is where Bluehost will send important notifications.
Step 5: Customize Your Package and Add-ons
On the package information page, you can customize your hosting plan:
- Select the term: Bluehost offers 12, 24, and 36-month terms. The longer the term, the lower the monthly rate.
- Choose add-ons: By default, some add-ons like site backup and domain privacy will be selected. Review these and deselect anything you don’t need.
Step 6: Complete Payment
- Enter your payment details to finalize your purchase. Bluehost accepts major credit cards and PayPal.
- Review the total cost and ensure all information is correct before clicking “Submit”.
Step 7: Access Your Bluehost Dashboard
Once your payment is processed, you’ll receive an email with login details.
- Log in to your Bluehost account using the credentials provided.
- From the dashboard, you can:
- Set up your website.
- Install WordPress or another CMS with just a click.
Step 8: Set Up Your Website
Bluehost simplifies the setup process for beginners:
- Use the Bluehost wizard to install WordPress.
- Select a theme or skip this step to choose one later.
- Start customizing your website!
If you would like to see all of this in video format, here you go.
Bluehost Alternatives
Here, I am going to give you a brief overview of Bluehost alternatives. Let's continue:
Hostinger
Hostinger is a budget-friendly hosting provider known for its competitive pricing and reliable performance. It offers a beginner-friendly interface, a free domain (with premium plans), and a robust website builder. It’s ideal for those seeking affordable hosting with decent features.
- Pros: Affordable plans, fast servers, user-friendly interface.
- Cons: No free SSL on basic plans.
CloudWays
CloudWays specializes in managed cloud hosting, offering excellent speed and scalability. It integrates with top cloud providers like AWS, Google Cloud, and DigitalOcean. This makes it perfect for businesses and developers seeking high-performance hosting solutions.
- Pros: High-speed performance, flexibility with cloud providers.
- Cons: No free domain, slightly technical setup.
ChemiCloud
ChemiCloud is a reliable alternative that combines great performance with exceptional customer support. It includes free domain registration for life (as long as you host with them), free SSL certificates, and free daily backups, making it a solid choice for small to medium-sized websites.
- Pros: Free domain for life, excellent uptime, great customer support.
- Cons: Slightly higher pricing compared to some competitors.
Step 4: Design Your Blog

Choose a Theme
A well-designed blog keeps readers engaged. Look for themes that are:
- Responsive (mobile-friendly)
- Customizable to fit your branding
- Optimized for speed
WordPress offers thousands of free and premium themes. For platforms like Wix, pre-designed templates are available.
Customize Your Blog
- Add a logo (create one using Canva).
- Organize navigation with clear menus (About, Contact, Blog).
- Use plugins like Elementor for advanced customization.
Pro Tip: Avoid clutter. A clean, professional design enhances user experience.
Step 5: Create Quality Content

Content Is King
Your content is the heart of your blog. Start by creating 10-15 posts before launching. Focus on:
- Solving your audience's problems.
- Using engaging headlines.
- Providing actionable advice.
Plan a Content Strategy
- Use tools like Trello or Notion to manage your content calendar.
- Mix evergreen posts (timeless content) with trending topics.
- Incorporate multimedia—videos, images, and infographics.
Write Engaging Blog Posts
- Start Strong: Use a hook in the first paragraph.
- Be Skimmable: Use short paragraphs, bullet points, and subheadings.
- End with a CTA: Encourage readers to comment, share, or subscribe.
Step 6: Optimize for SEO

Search Engine Optimization (SEO) is vital for organic traffic. Here’s what you need to do:
Keyword Research
- Use tools like Ahrefs, SEMrush, or Ubersuggest.
- Focus on long-tail keywords for easier ranking.
On-Page SEO
- Optimize titles and meta descriptions.
- Use keywords naturally in headings and throughout the content.
Technical SEO
- Ensure your blog is mobile-friendly.
- Improve loading speeds using tools like Google PageSpeed Insights.
- Use secure HTTPS protocol.
Pro Tip: Leverage AI tools like SurferSEO to optimize content effectively.
Step 7: Promote Your Blog

Writing great content is just the first step. You also need to promote it.
Leverage Social Media
- Share posts on platforms like Instagram, LinkedIn, and TikTok.
- Engage with your audience through comments and DMs.
Build an Email List
- Use tools like ConvertKit or Mailchimp to collect subscribers.
- Offer a freebie (like an eBook) to incentivize sign-ups.
Collaborate
- Guest post on other blogs in your niche.
- Join forums and communities to share your expertise.
Pro Tip: Consistent promotion builds a loyal audience over time.
Step 8: Monetize Your Blog

Once your blog starts gaining traction, consider monetizing it. Here are a few strategies:
- Affiliate Marketing
- Promote products or services and earn a commission.
- Join affiliate programs like Amazon Associates or Fiverr Affiliates.
- Sponsored Posts
- Collaborate with brands for paid content.
- Sell Digital Products
- Create eBooks, courses, or templates related to your niche.
- Display Ads
- Use platforms like Google AdSense to show ads on your blog.
Pro Tip: Diversify your income streams for long-term stability.
Step 9: Track and Improve Your Blog’s Performance

Analytics Tools
- Use Google Analytics to track visitors, traffic sources, and bounce rates.
- Heatmap tools like Crazy Egg show how users interact with your blog.
Optimize Based on Data
- Identify top-performing posts and create similar content.
- Experiment with layouts, headlines, and calls-to-action to boost engagement.
Pro Tip: Regularly updating old posts with fresh information improves SEO.
My Final Thoughts
Starting a blog this year, this month, or this week can be a rewarding journey, whether for personal expression or financial gain. By following this comprehensive guide, you can establish a strong foundation, attract readers, and grow your online presence. Remember, consistency and patience are key. Success won’t happen overnight, but with dedication, your blog can become a valuable asset.
So, what are you waiting for? Start your blogging journey today and make this year your most creative year yet!